User Lookup
The User Lookup menu enables administrators to find existing RapidIdentity Server users who are known to the system.
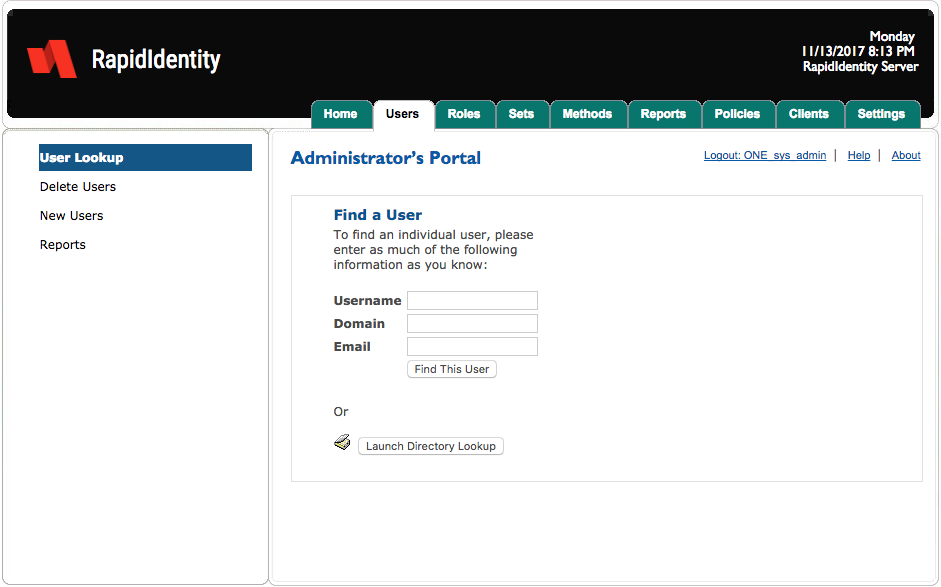
Administrators have 2 primary options to look up a user:
Use the Find a User fields.
Note
This feature searches for users within the MFA database.
Use the Directory Lookup tool.
Note
This feature searches for users within the Active Directory environment.
The Directory Lookup tool is only available for use with the Microsoft Internet Explorer with corresponding ActiveX controls installed and configured. (The site is added to the
Local Intranet Zoneand theinitialize and script ActiveX controls not marked for scriptingis set to Enabled or Prompt.)
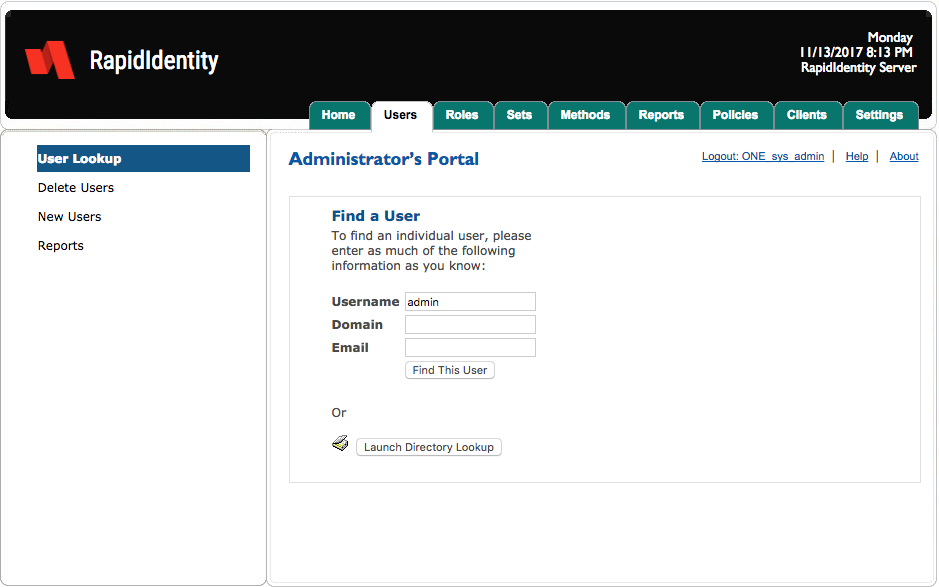
Administrators can complete any or all of the three fields with as little or as much information that is known currently. For example, typing the letter “E” in the Username field returns all users whose username includes the letter E, regardless of case in the username.
After completing the field(s), click Find This User.
Users matching the input field values are displayed to the right of the input fields.
 |
To view the user information for the newly located user, click that user in the Username column.
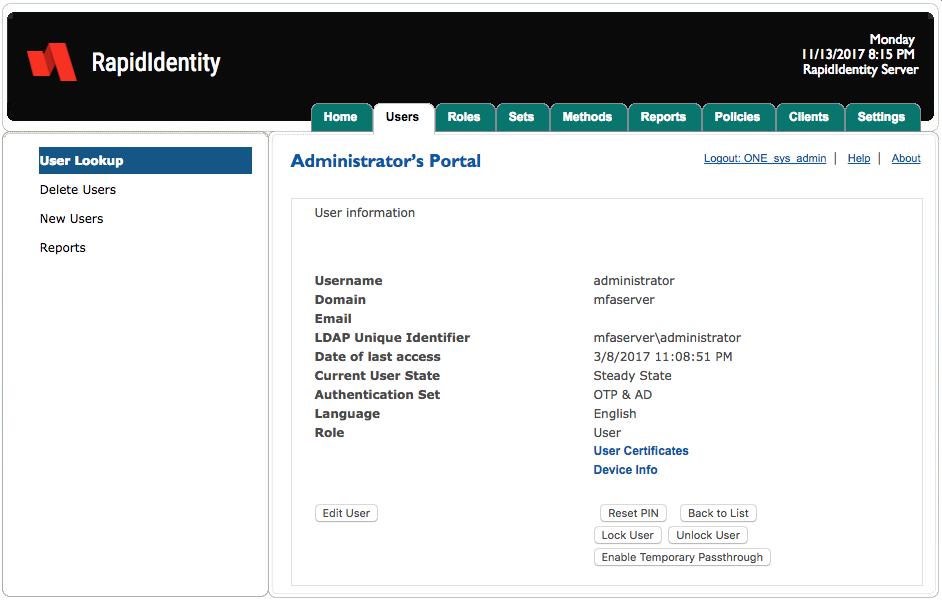 |
Administrators can then edit user information, reset their PIN, enroll on behalf, or return to the list (of their query results).
Note
The Enroll on Behalf button is only enabled for users in the New or Replace Credential States with an Authentication Set for contact or contactless smart cards only. Enroll on Behalf is not enabled for users with AD, Q&A, or Emergency Access in their Authentication Sets.
To begin a new query, click User Lookup and enter the information known. Then click Find This User.
The Generate Offline Unblock button is only visible for users who enrolled via RapidIdentity Server with a mini-driver or a .NET contact card.
Edit User
Clicking Edit User opens a pop-up window to allow administrators to edit user information.
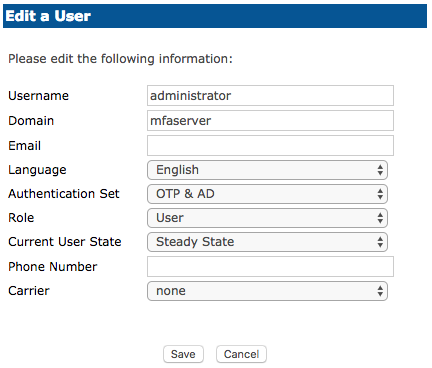
Administrators can edit all fields.
After edits are complete, click Save to commit any changes or Cancel to discard.
Edit a User Fields | Description |
|---|---|
Language | The Language drop-down box enables administrators to set the language that will be assigned to the user within the User’s Portal. RapidIdentity Server supports ten languages; English, Spanish, French, German, Italian, Japanese, Korean, Portuguese, Russian, Chinese, and Czech. For multi-language to function correctly, the Multilingual User Interface environment must be installed on the computer on which the user is viewing RapidIdentity Server, and to view Asian languages, a language pack from at least one of the supported Asian languages must be installed. |
Authentication Set | The Authentication Set drop-down box enables administrators to assign the authentication set to the user. By default, there are five sets enabled in RapidIdentity Server. These sets cannot be modified or deleted but new ones can be created.
In order to use the PingMe feature, use an Authentication Set that includes the OTP Method. |
Role | The Role drop down box enables administrators to set the RapidIdentity Server Role that will be assigned to the user. Users can be set to any RapidIdentity Server Role previously defined within the system, for which the current administrator has role assignment permissions. There are five default roles.
|
Current User State | The Current User State drop down box enables administrators to set the user’s state within RapidIdentity. The user’s state defines the user’s experience within the User Portal. There are eight assignable states within RapidIdentity Server.
Disable Account is only available when the AD Method is set up in Methods and if the user is a member of the domain for which the AD Method was established. Also, an AD service account must be populated under Methods > Active Directory > Active Directory web page. Once set, RapidIdentity Server disables the user’s associated Active Directory Account and sets the user’s RapidIdentity Server account to Deactivated. Once the user is in this state, the user will no longer be able to log on to the domain; however, their credential will still be valid, such as their previously issued PKI certificate. To re-enable the account, set the user back into Steady State or New Credential. Renew Credential is a workflow for primary authentication methods only. Use this state if the user requires renewing their primary credential such as a digital certificate located on a Contact smart card. Users in this state will be greeted with the “Renew Credential” workflow when logging into the RapidIdentity Server User Portal. This workflow does not consume a User License. |
If the Authorization Code is enabled globally, the Authorization Code dialogue box appears with the assigned authorization code after saving changes. This only appears when RapidIdentity Server has detected changes that would normally require an authorization code to be presented to the user. Administrators can either read or Email it the Authorization Code to the user.
Note
Editing a user to add an email address would not generate a new authorization code, but changing users into states where they would be expected to enroll or update credentials would.
Reset Pin
Clicking Reset PIN opens a pop-up window to allow administrators to enter and confirm a new PIN.
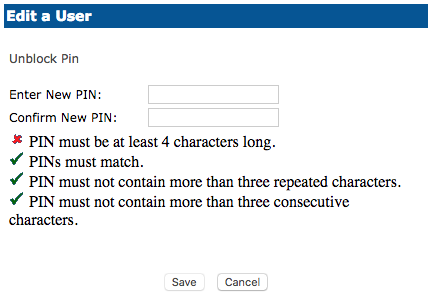
In this example, the default PIN policy is shown, however, administrators can configure the PIN policy to align with organizational security policies and any necessary regulations.
When finished, click Save or Cancel to discard.
Enroll on Behalf
RapidIdentity Server enables administrators to enroll contact smart cards with PKI and contactless cards on behalf of other users.
This feature is useful for organizations wanting to provide a centralized deployment of RapidIdentity or for specific users, such as executives, who normally do not perform such tasks.
There are 5 requirements to enroll on behalf:
To perform this task the administrator must be assigned the role of ONE_sys_admin or Security Officer, or the function of Enroll on Behalf must be manually assigned to the Role for which the administrator is logged into RapidIdentity.
By default, Admin and Helpdesk roles are not permitted to enroll on behalf of other users.
Additionally, Enroll on Behalf is only available to users with an Authentication Set of Smart Card Only or Contactless Only.
Enroll on Behalf is NOT enabled for users with Q&A, Emergency Access or Active Directory as a secondary method.
Finally, the system that you perform an Enroll on Behalf from must be set up the same way as a system on which users perform self-service enrollment.
To enroll on the behalf of another user, follow these 5 steps:
Create a new user or move an existing user into the New or Replace Credential States. In the Edit User pop-up, ensure the user is assigned an Authentication Set that includes Smart Card or Contactless only.
Click Save.
The Edit User pop-up closes and the Enroll on Behalf button on the User Information page will be enabled. If the button is not present or is not enabled, please refer back to the requirements above.
Click the Enroll on Behalf button.
Follow the steps in the enrollment wizard.
Contact smart cards and contactless cards are essentially enrolled the same as when users perform self-service enrollments. The only exception is that it is not required to provide the user’s Active Directory username and password during Enroll on Behalf for contactless. The user will be required to enter their password the first time they authenticate with a contactless card.