Enabling Hideez Support in RapidIdentity Server
Support for Hideez Keys is included in RapidIdentity. To enable Hideez Keys, you must first go https://my.hideez.com/Account/Login/ and create an account. This account will be the administrator account you will use to manage all your Hideez Keys.
Once you have finished creating your administrator account out on https://my.hideez.com/Account/Login/ go to your RapidIdentity Server's Administrator's Portal and sign in.
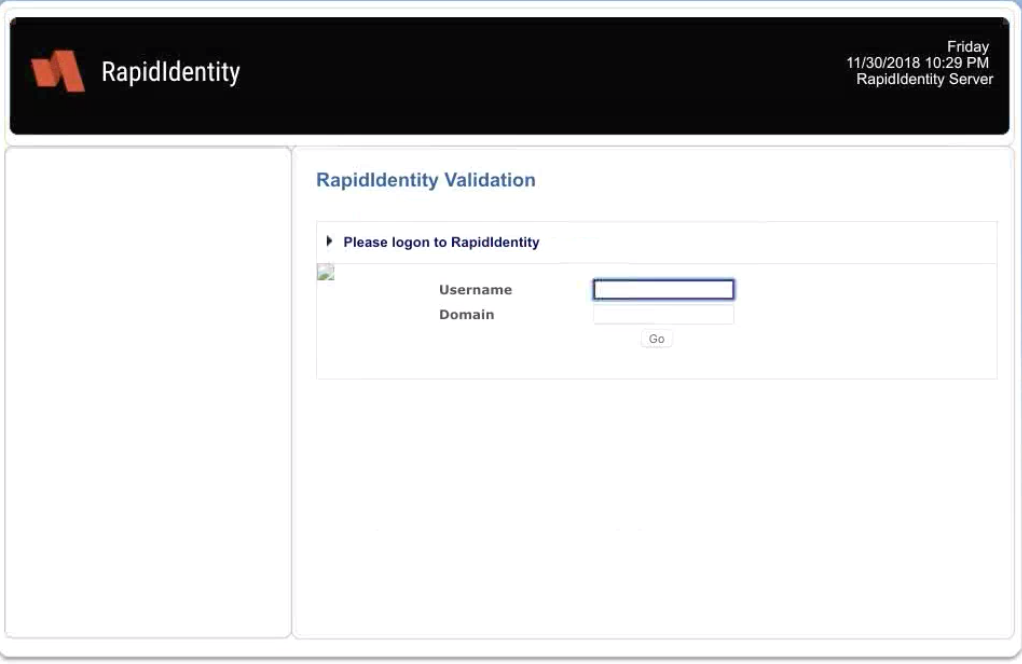
You should now see RapidIdentity Server's Dashboard.
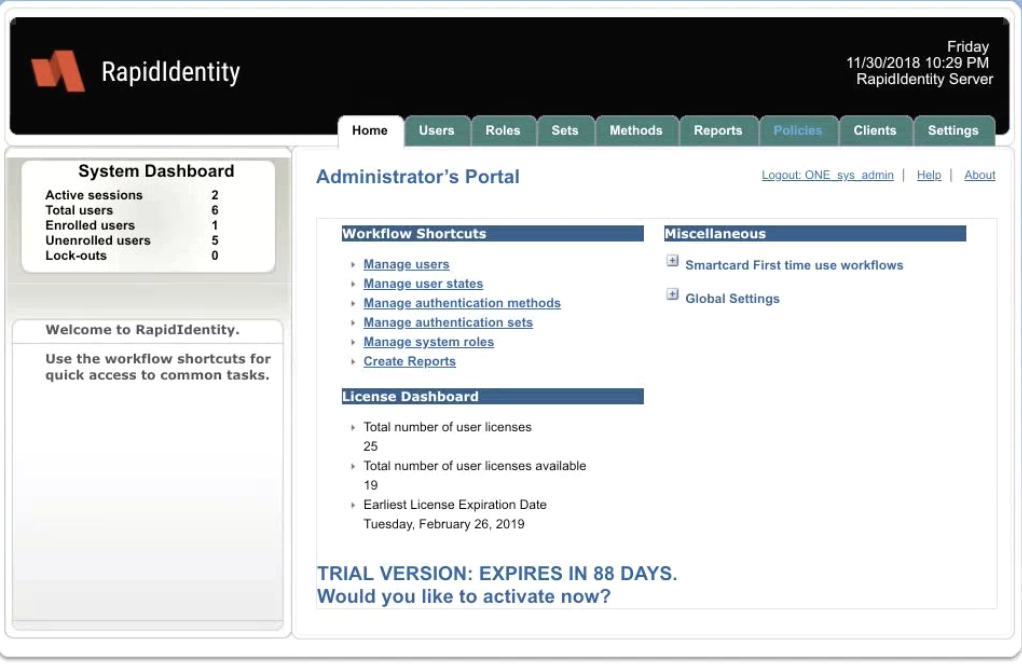
Now, click on the Policies tab.
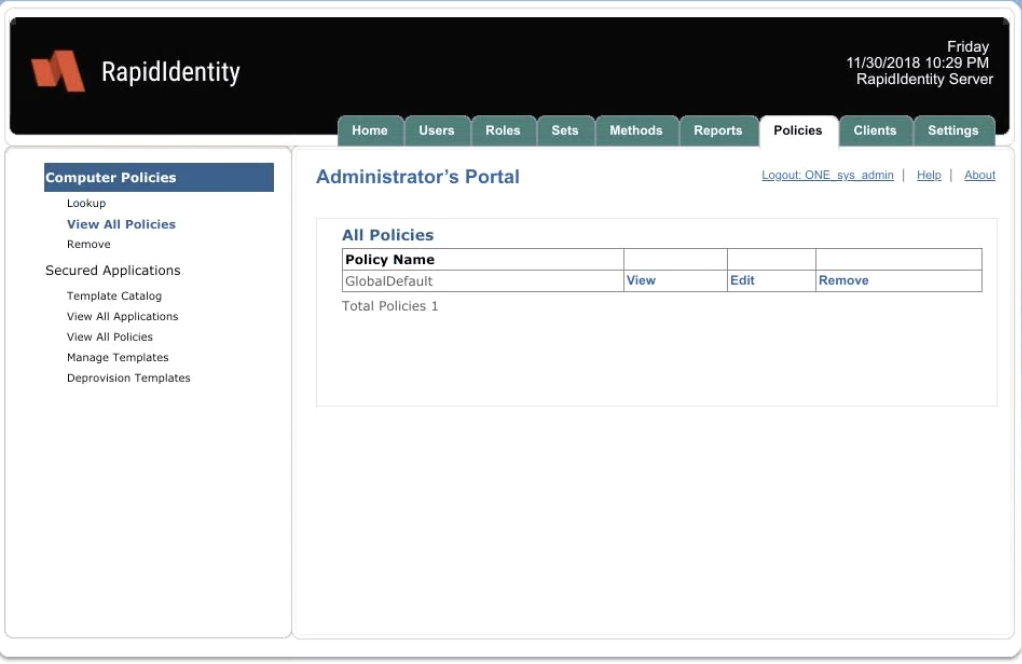
Look for your GlobalDefault policies configuration and click on the Edit link. On the Policies for GlobalDefault page, click on the Hardware tab.
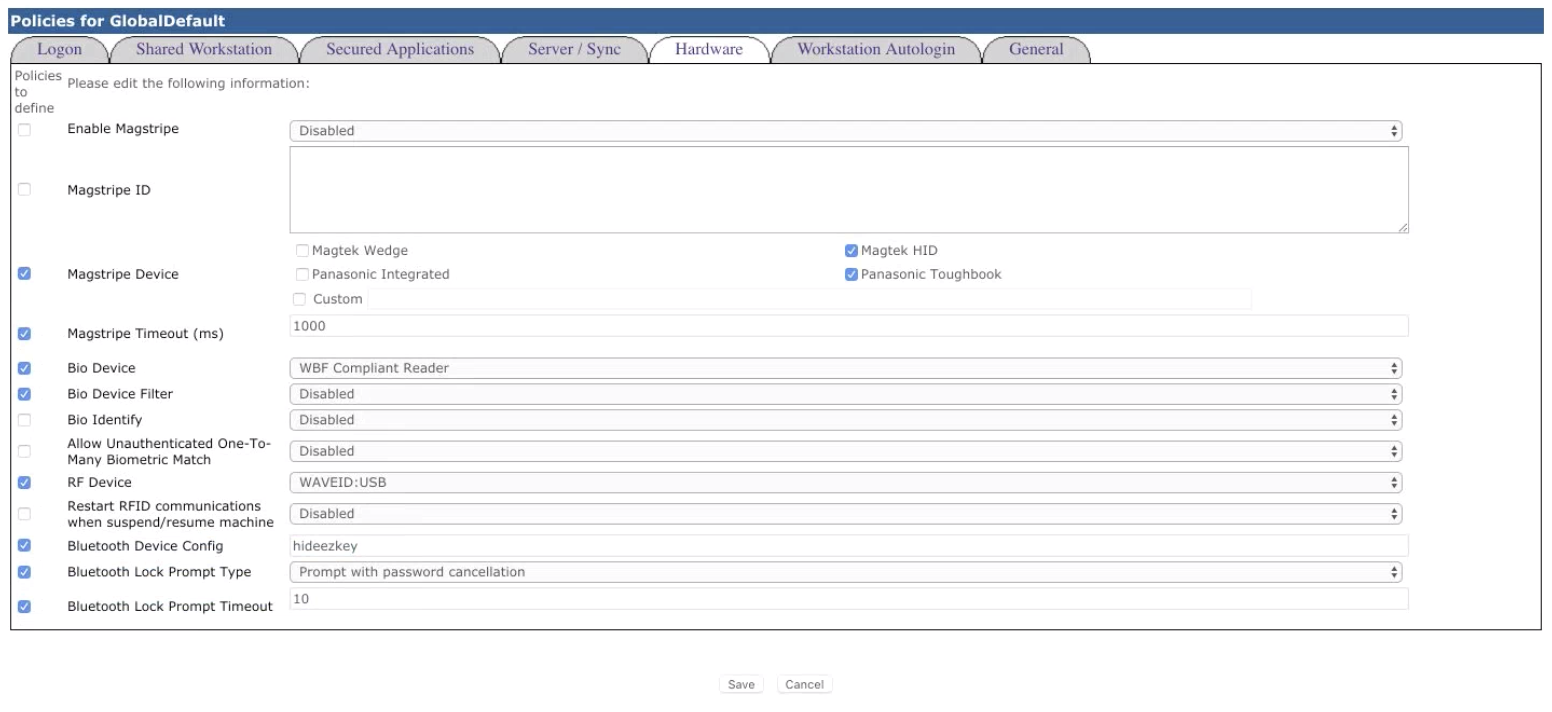
At the bottom of the page, you should see an option called Bluetooth Device Config. Enable this policy by placing a check in the checkbox and then set the value to hideezkey. Click the Save button to save your changes.
Note
RapidIdentity Server only supports one Bluetooth authentication method at a time. If you have already configured RapidIdentity to use Bluetooth devices from another manufacturer, these devices will no longer work when you change this value to hideezkey.
Finally, click on the Settings tab in the Administrator's Portal.
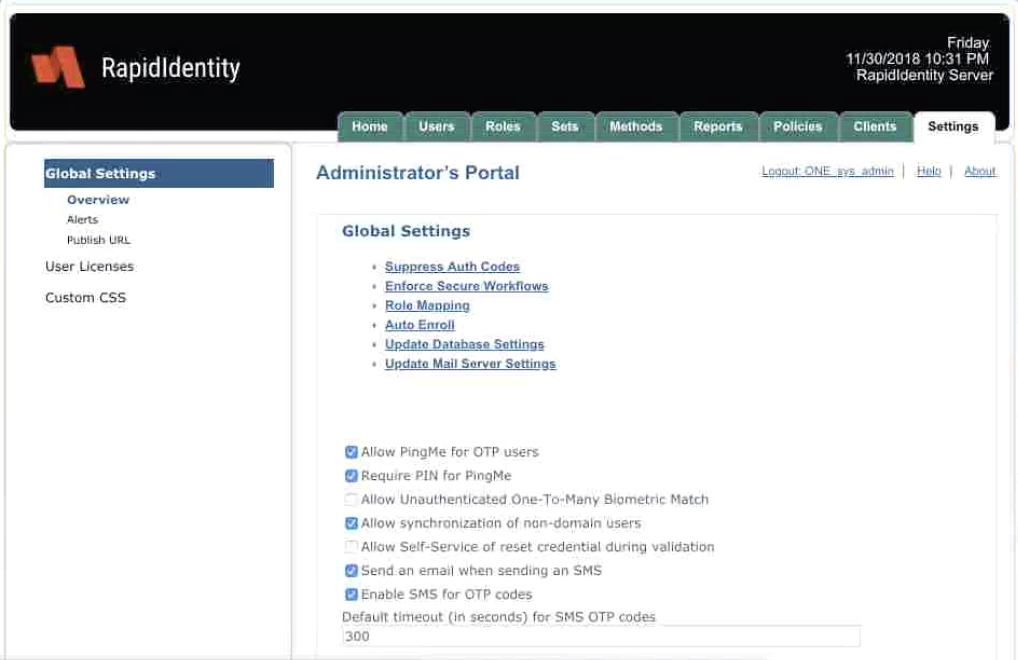
Now, scroll to the bottom of the page.

Enter https://my.hideez.com in the Hideez Server URL field.
Enter your Hideez administrator's email address in the Hideez Account Email field.
Enter your Hideez administrator's password in the Hideez Account Password field.
Note
The Hideez administrator's email and password are the email and password you configured on https://my.hideez.com during the first step of these instructions at the top of the page.