Directory Mapping
Directory Mapping provides the capability to map RapidIdentity Server Roles to Active Directory Groups.
This feature enables the predefined groups in Active Directory to inherit the associated RapidIdentity Server Roles, thereby eliminating the requirement to manage roles within multiple applications. Administrators can choose to map any or all roles to an Active Directory Group.
Follow these 3 steps to map a RapidIdentity Server Role to an Active Directory Group:
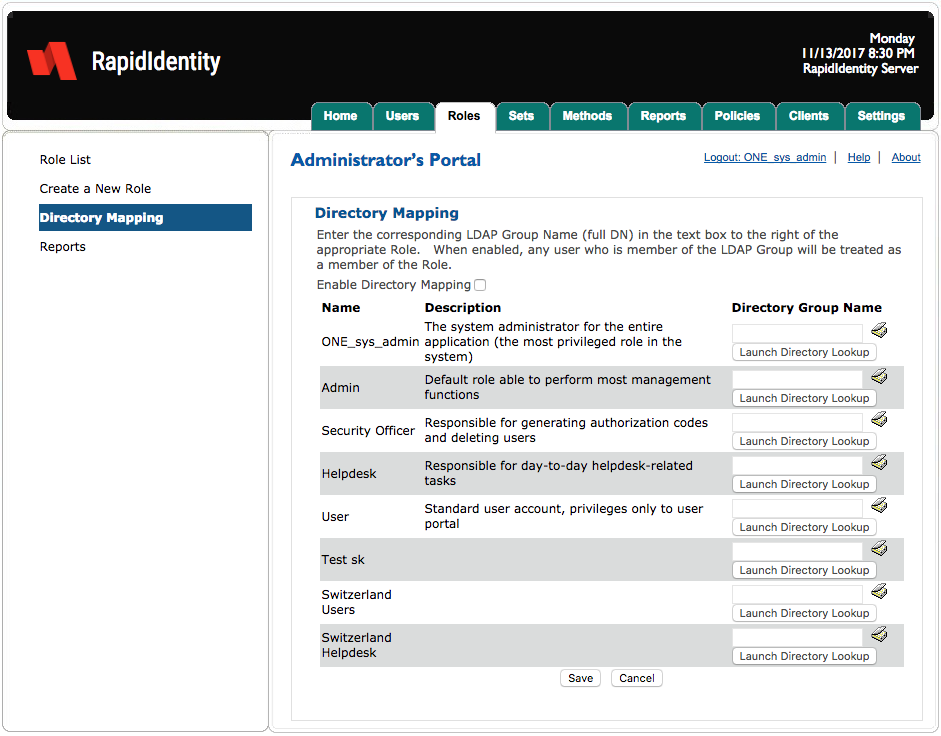
Check the Enable Directory Mapping check box.
Enter the corresponding Directory Group Distinguished Name in the text box to the right of the appropriate RapidIdentity Server Role. When this function is enabled, any user who is a member of the Directory Group will be treated as a member of the RapidIdentity Server Role. Alternatively, click the Directory Lookup Tool icon and navigate to the desired Active Directory group.
Click Save to commit changes or Cancel to exit the menu.
In order to enter multiple groups, thereby assigning all of those groups to a particular Role, separate each DN by a semicolon.
Best Practice: For administrators desiring to only manage roles from within Active Directory, it is best practice to assign all RapidIdentity Server user accounts the basic “User” Role. Then, allow Group Membership within Active Directory to determine elevated privileges. Remember that permissions are additive. Therefore, if a user is a member of multiple groups, the user receive all of the cumulative permissions of each associated RapidIdentity Server Role. Thus, in order to maintain proper role separation, ensure users in groups in Active Directory which would violate the desired role separation within RapidIdentity Server.