Configuring Internet Information Services
Follow these steps to configure Internet Information Services (IIS).
In the RapidIdentity Server environment, navigate to the Start Menu and access Administrative Tools.
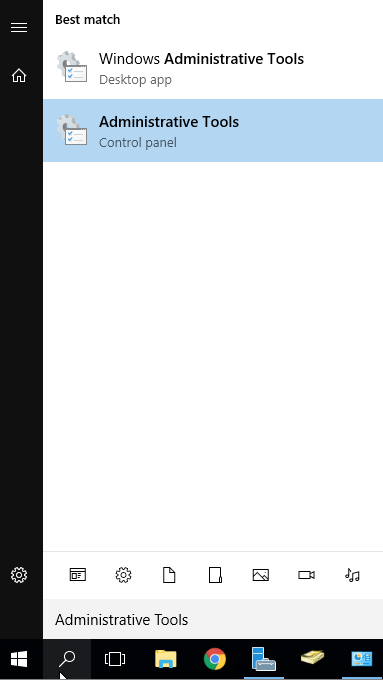
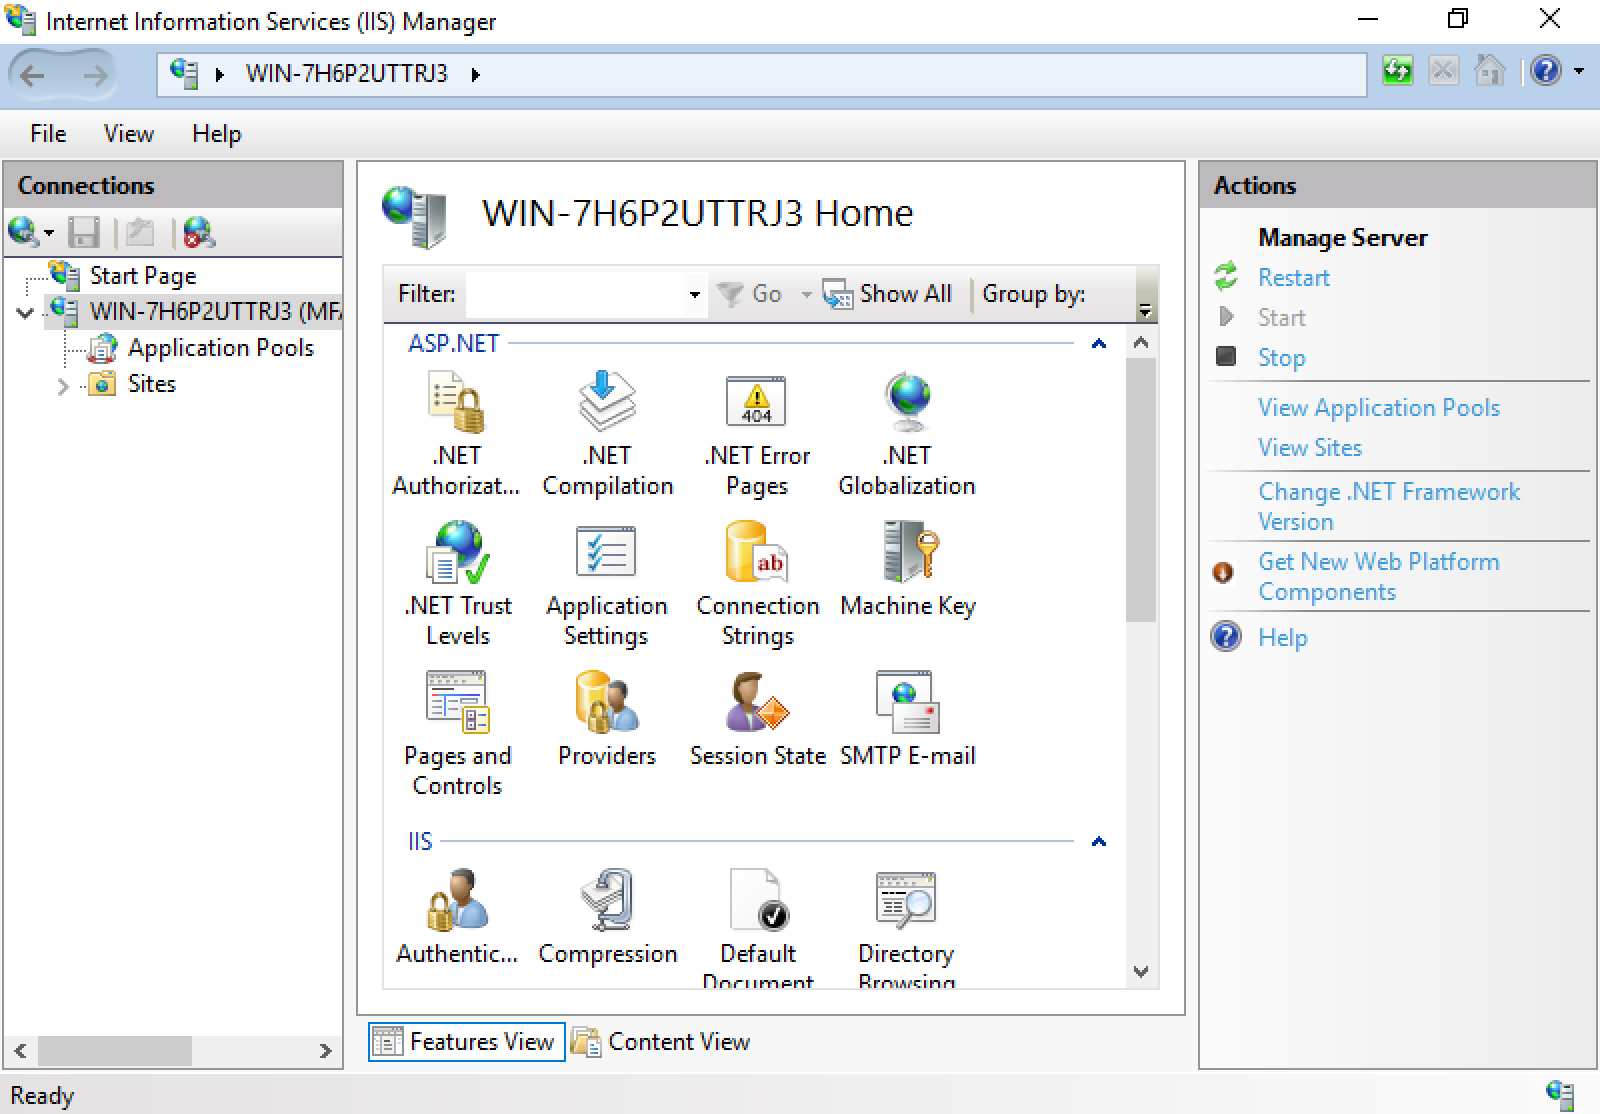
Double-click Internet Information Services (IIS) Manager.

Navigate to the local computer and select Application Pools.
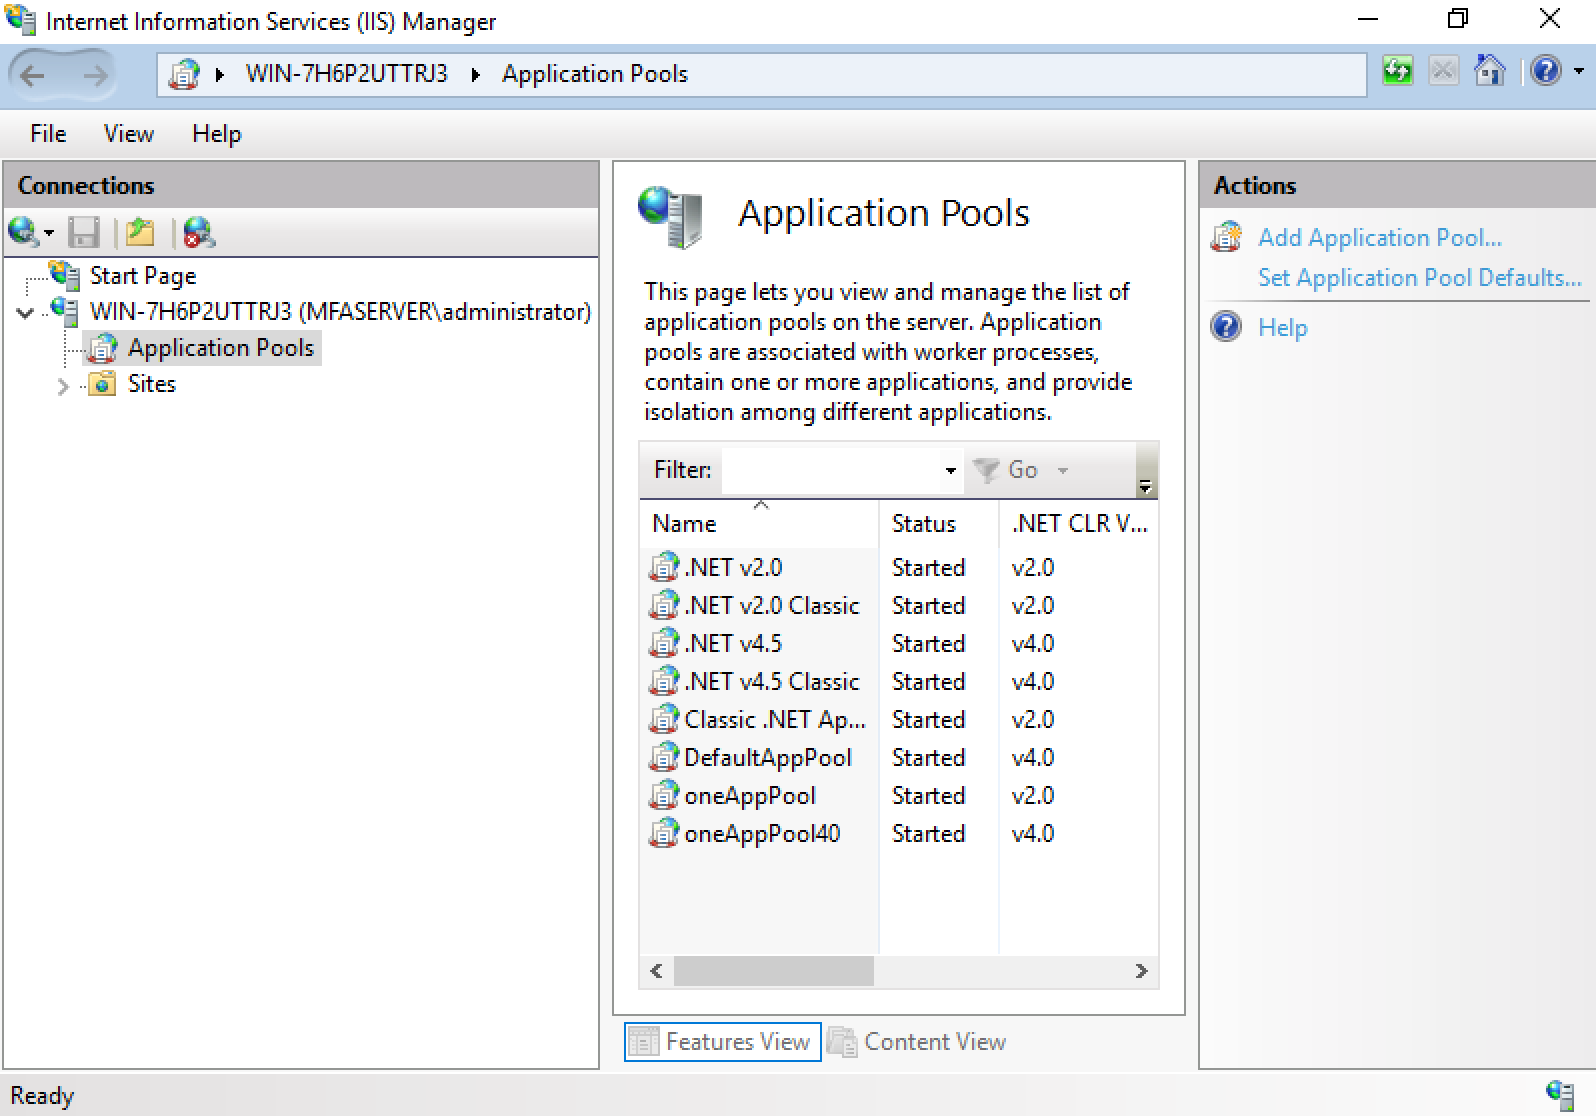
Right-click oneAppPool and select Advanced Settings.

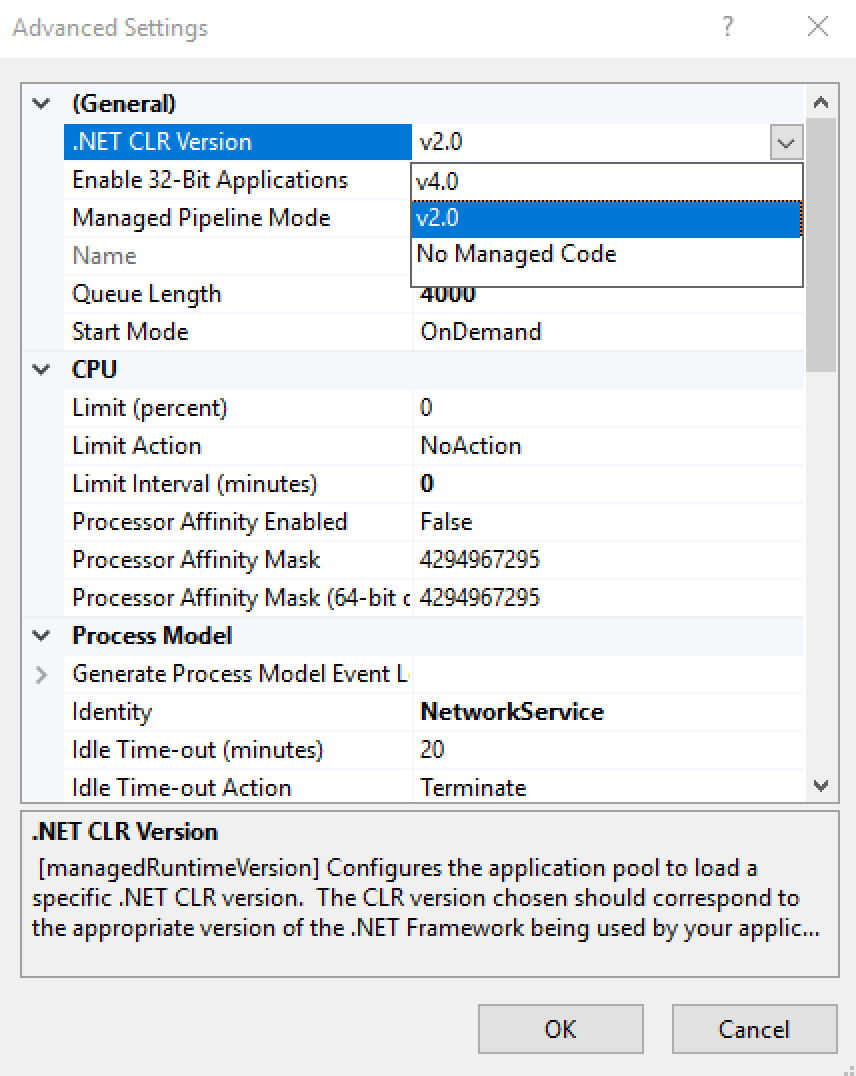
Advanced Settings requires three focus points.
First, click .NET CLR Version ,and select v2.0.
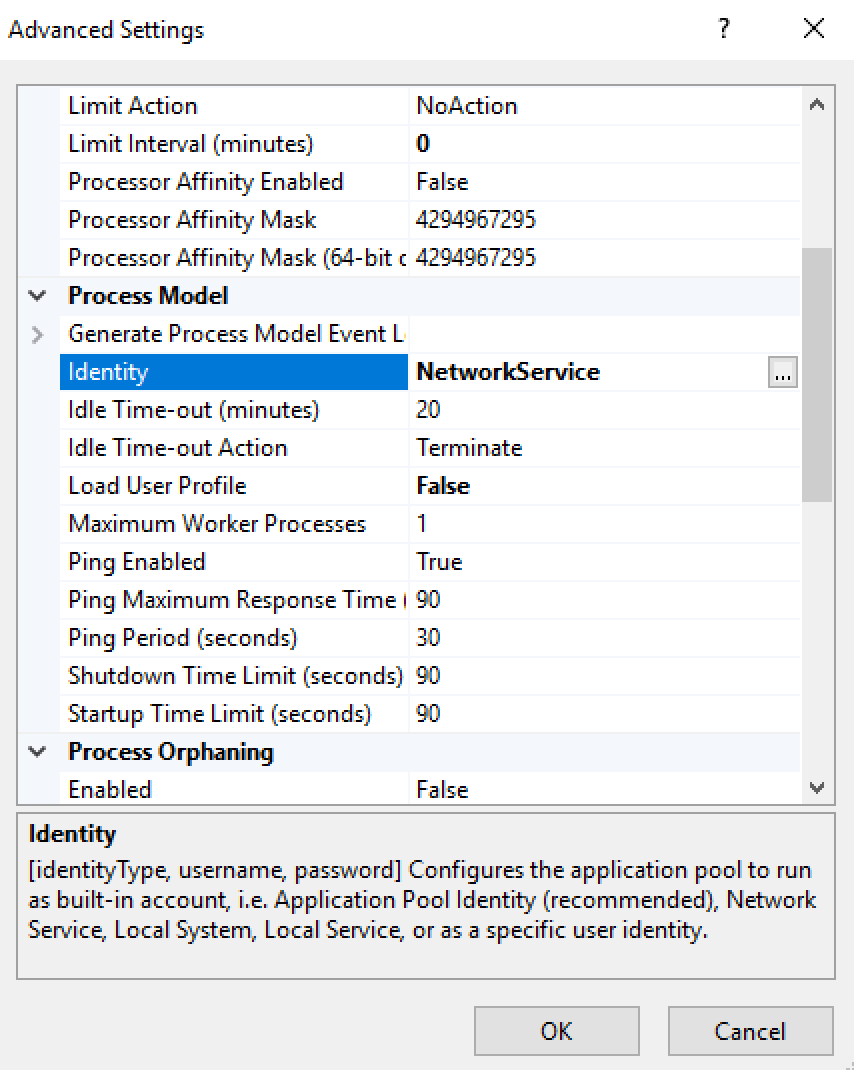
Second, scroll to Process Model and select Identity.
Adjacent to NetworkService, click the ellipsis.
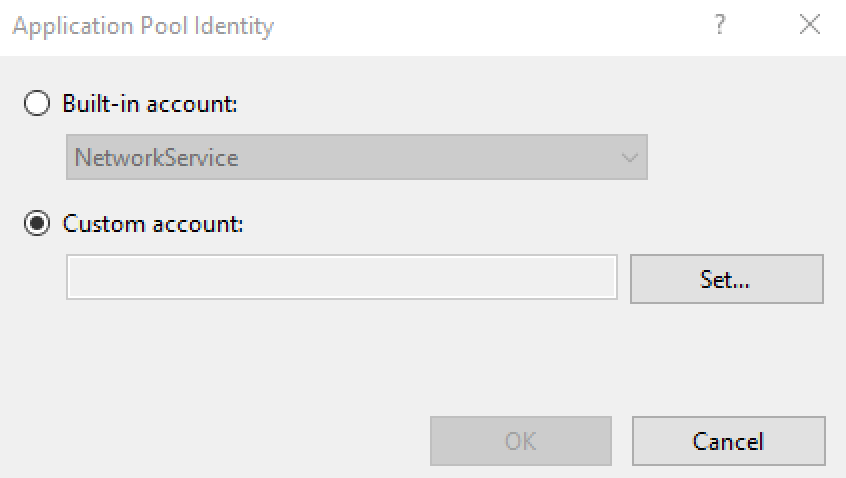
Select Custom Account and then click Set.
When the Set Credentials dialog box appears, enter the username of the RapidIdentity Service account created earlier in the Domain\username format.
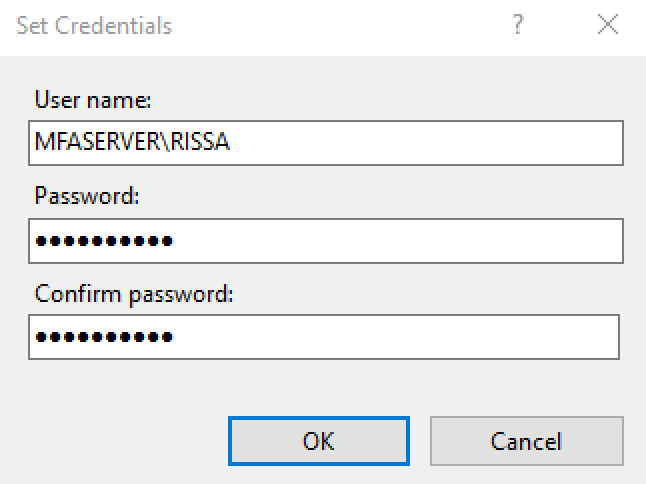
Enter and confirm the password previously set and click OK.
Click OK to close the Application Pool Identity dialog.
The RapidIdentity Server Service Account is only needed when using smart cards within your environment. The Built-in account of NetworkService will work for all other authentication methods.
Third, staying within Process Model, click Load User Profile, then select True.
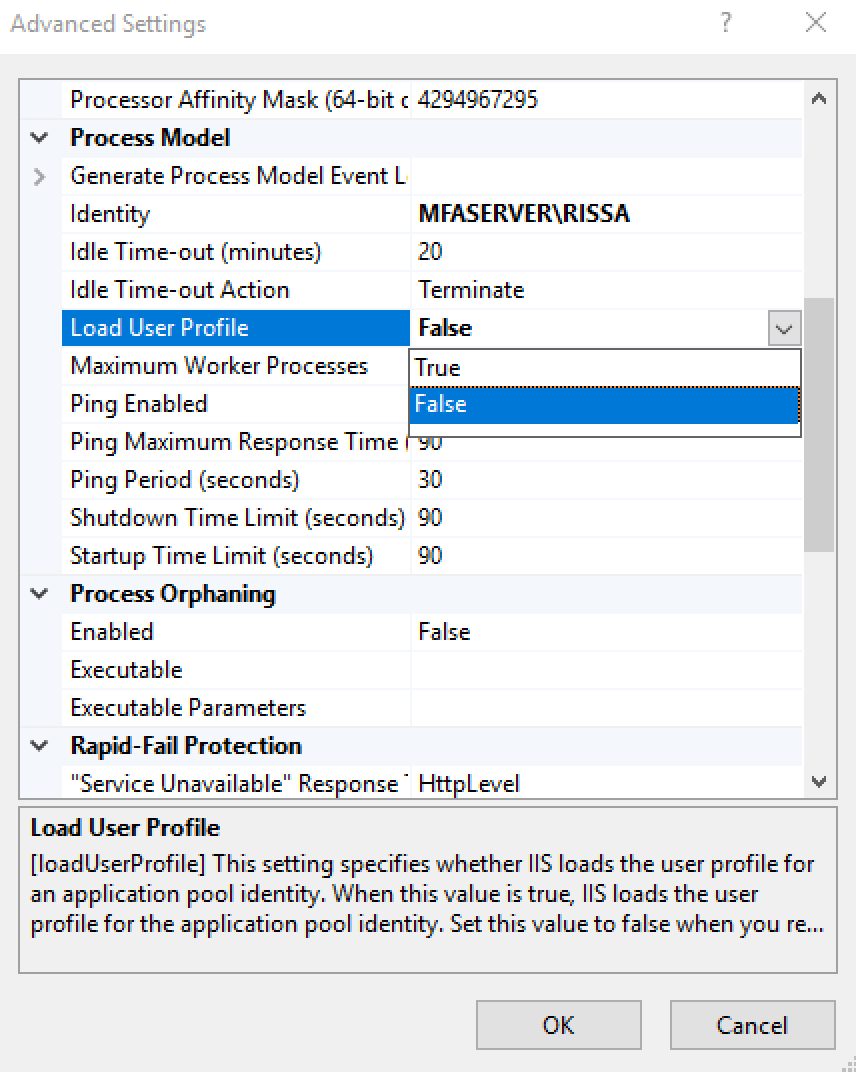
Click OK.
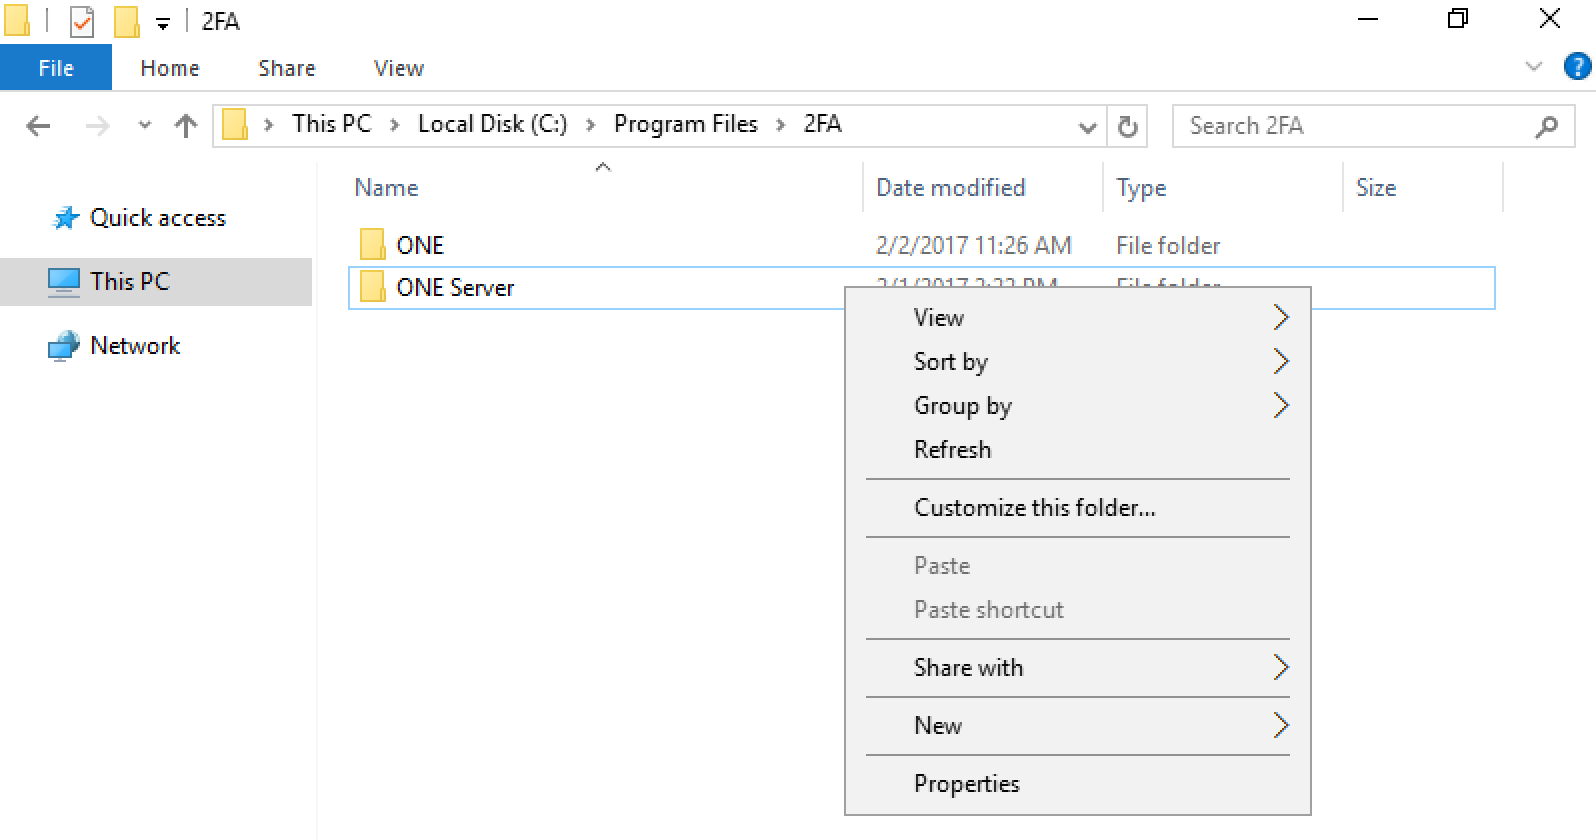
Minimize the IIS window. Open Control Panel and navigate to C:\Program Files\2FA.
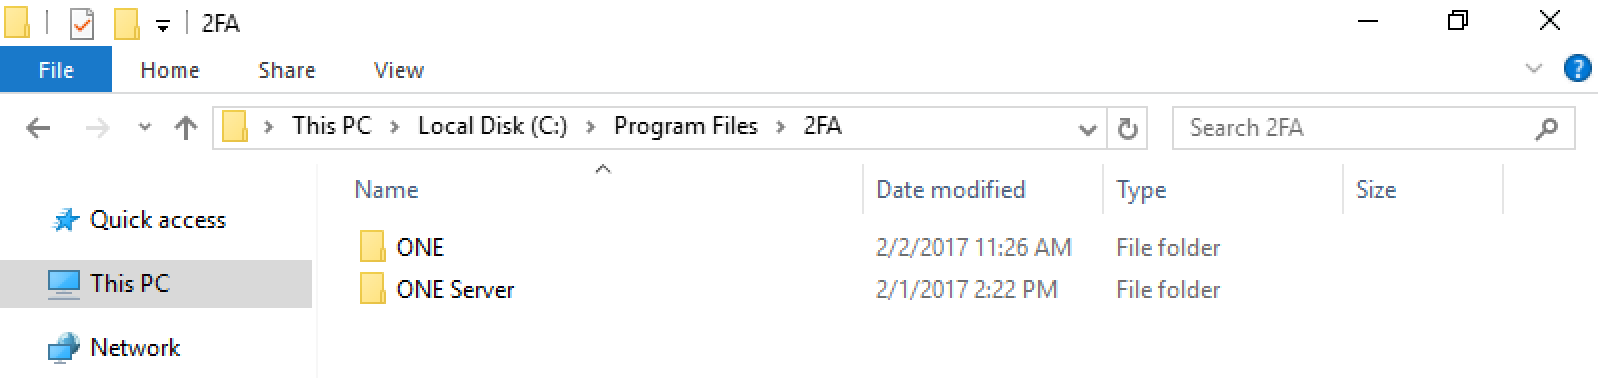
Right-click ONE Server and select Properties.
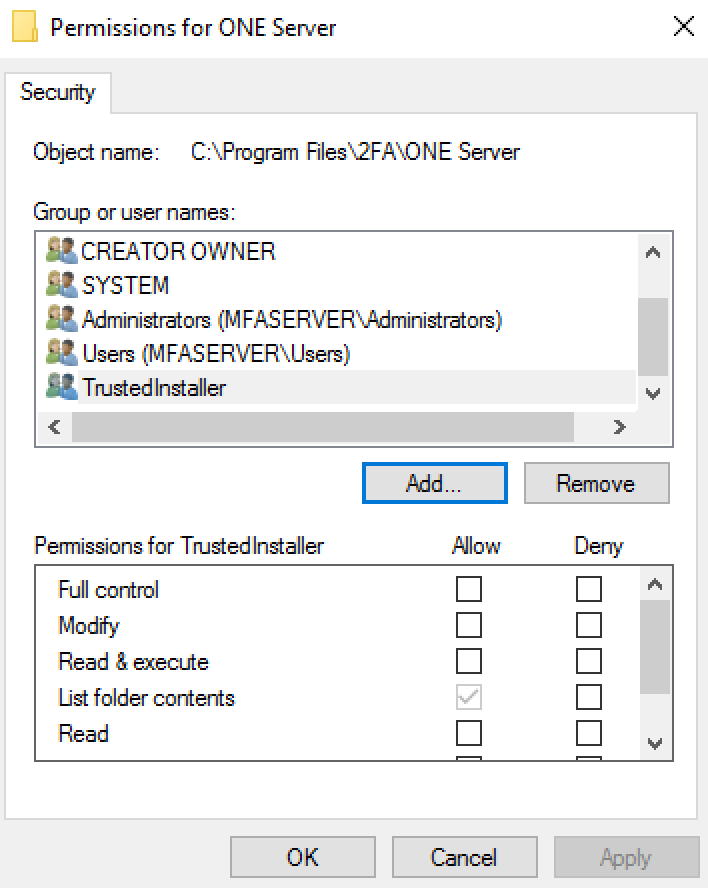
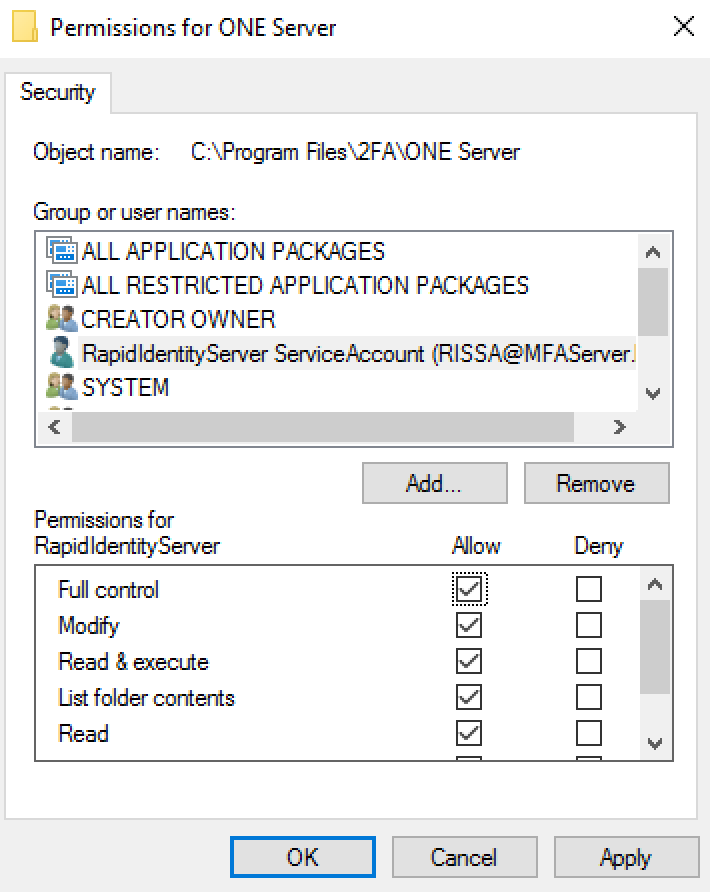
The purpose of this step is to provide the Service Account with Full Control.
Navigate to Security | Edit. and then click Add.
Click Advanced.
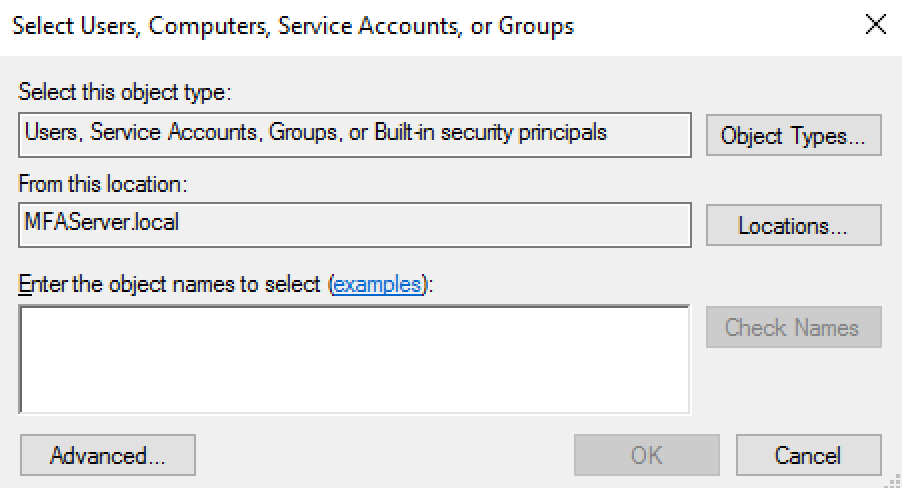
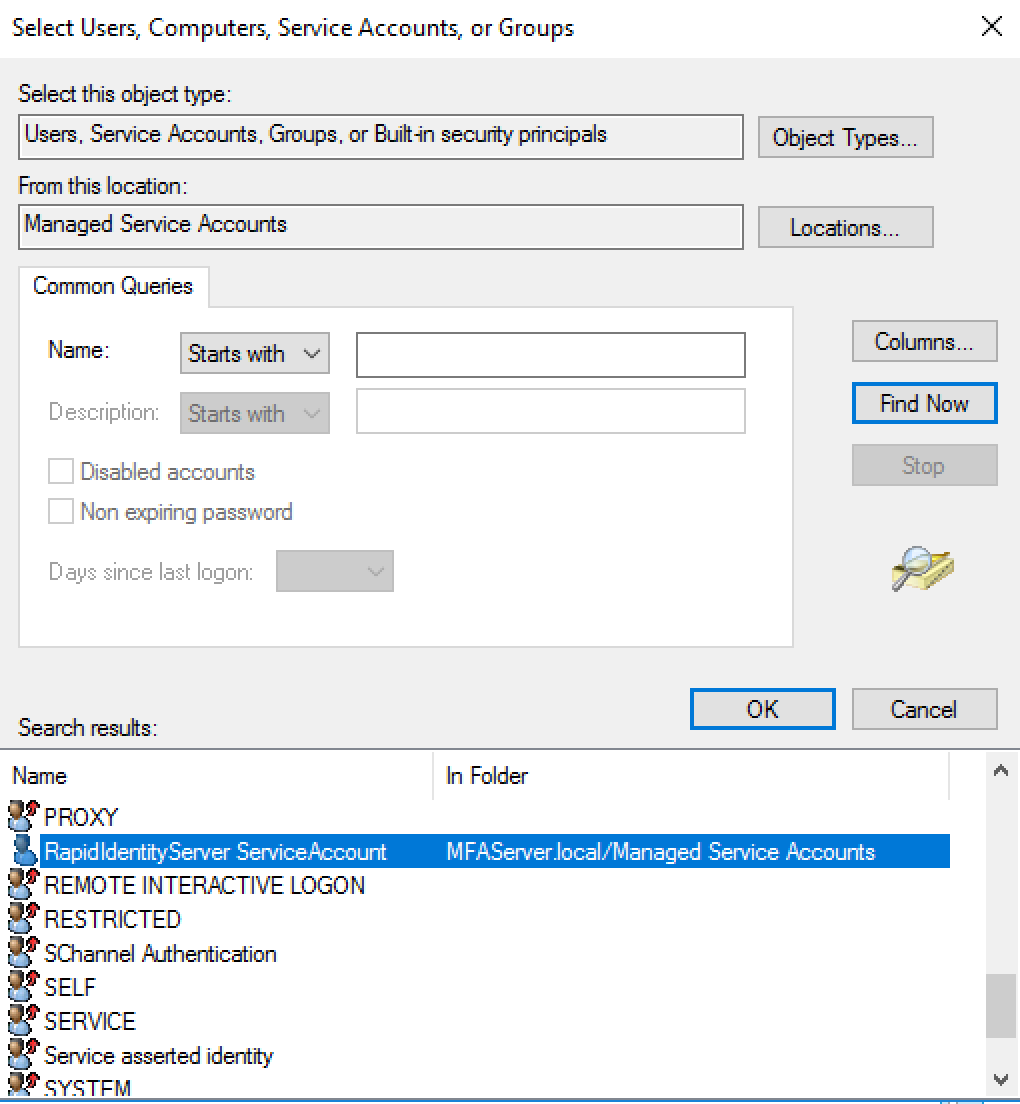
Click Locations…, select the Managed Service Accounts OU, and click OK.
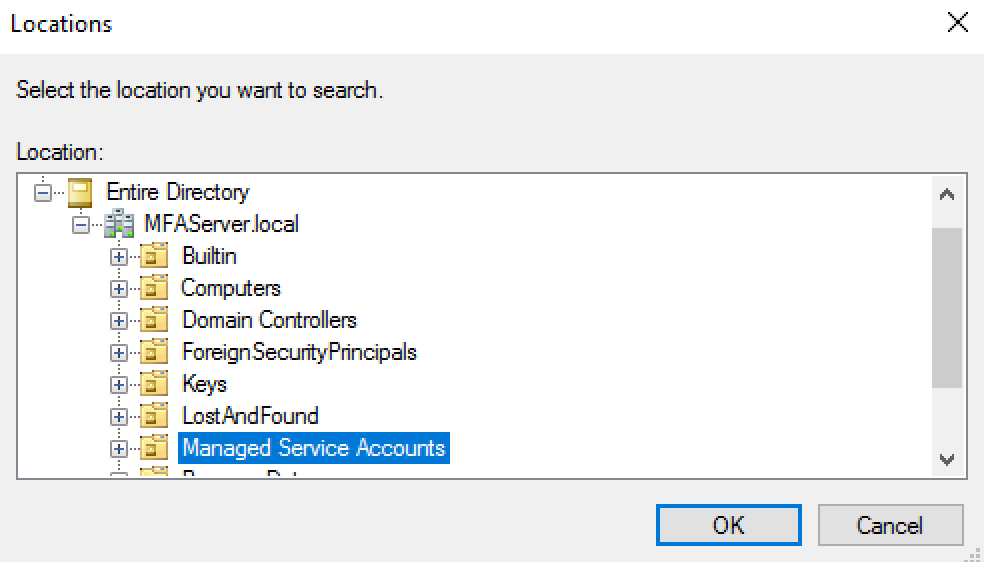
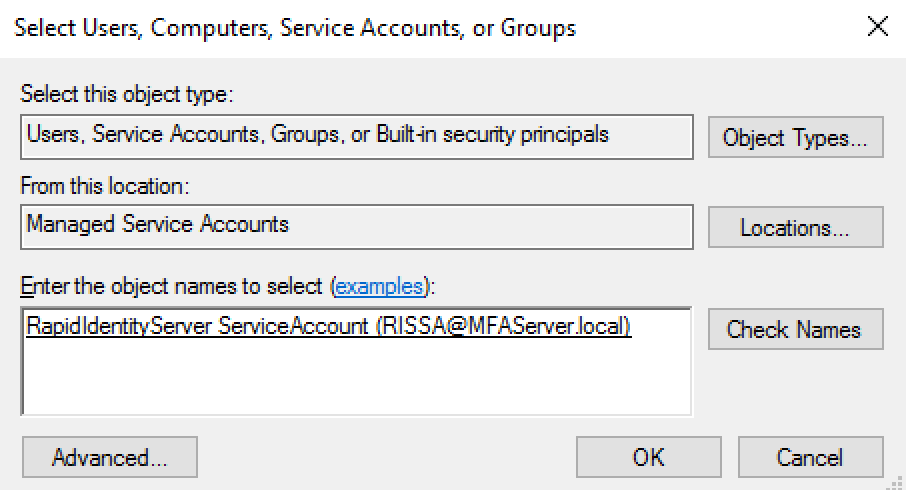
Click Find Now, select the previously created Service Account, and click OK.
Click OK.
Select the Service Account, check the Full Control box, and click OK.
Click OK to exit the Security menu.
Return to Internet Information Services (IIS) Manager, access the Start Page, and click the RapidIdentity Server in the Recent connections pane.
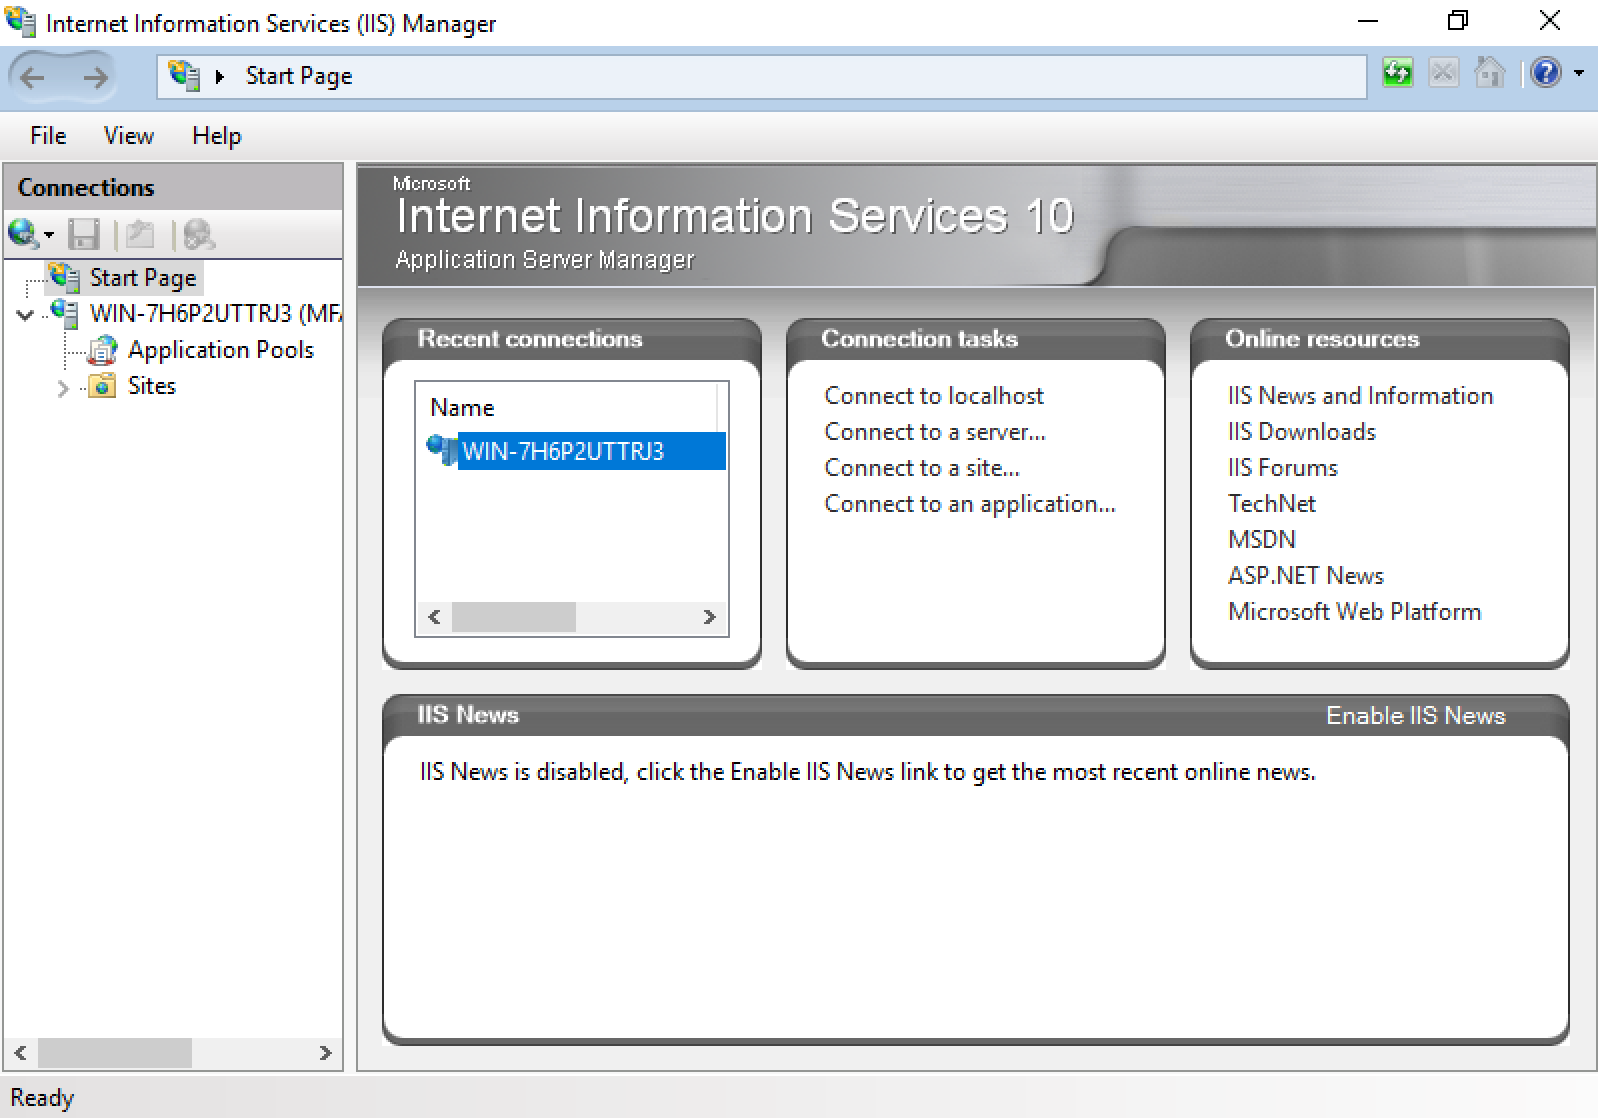
Finally, in the Actions pane, click Restart.
The post-installation steps for Microsoft Internet Information Services are now complete.