Add New User
There are 3 steps to add an individual user to the system:
Select the Add a New User option from the left pane.
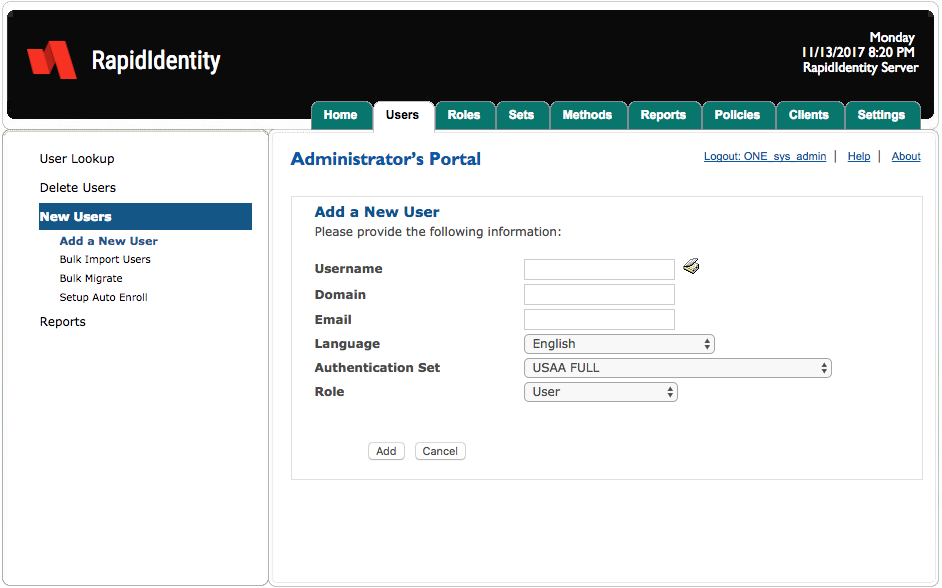
Complete all of the fields shown or click the directory icon to launch the Directory Lookup Tool to select the user object. If the organization is a multi-domain environment, it is necessary to enter the user’s domain.
Select Add or Cancel to exit.
Bulk Import Users
Bulk Import Users enables administrators to import multiple users simultaneously using a .csv file or through selecting a directory service OU or group.
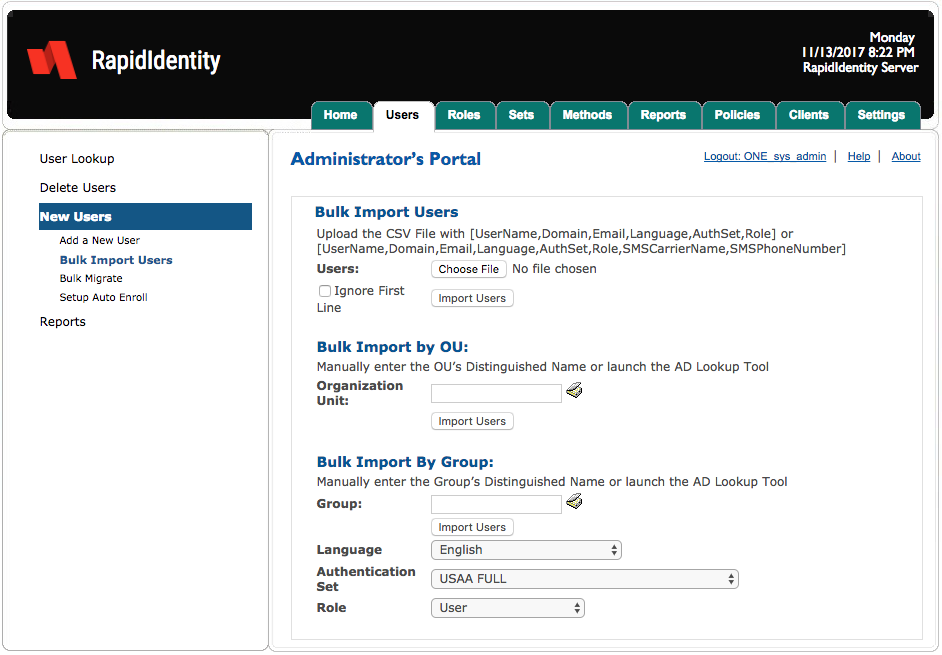
Import from CSV
Important
Prior to importing the .csv file, ensure the file's records are ordered as Username, Domain, Email, Language, AuthSet, and Role. Options can also include smscarriername and smsphonenumber.
If a record field does not contain a value, that record can be imported without having to include a delimited space.
Record | Description | |
|---|---|---|
Example 1 | TestUser1, companyName, TestUser1@companyName.com, English, Smart Card Only, User | TestUser1, companyName, TestUser1@companyName.com, English, Smart Card Only, User |
Example 2 | TestUser2, companyName, Deutsch [German],, ContactlessOnly, Admin | The record does not contain an Email address and has German as the language. NoteThe email is not present, but the commas indicating the field are. |
After validating the .csv file, follow these 2 steps to import users:
Enter the location of the .csv file on the Bulk Import Users page or click Browse to navigate to the file.
If the .csv file contains a header, check the Ignore First Line otherwise leave this check box unchecked.
Click Import Users.
Import by OU or by Group
Follow these 3 steps to import by OU or Group:
Type the Distinguished Name or use the Directory Lookup Tool to navigate to the desired OU or Group.
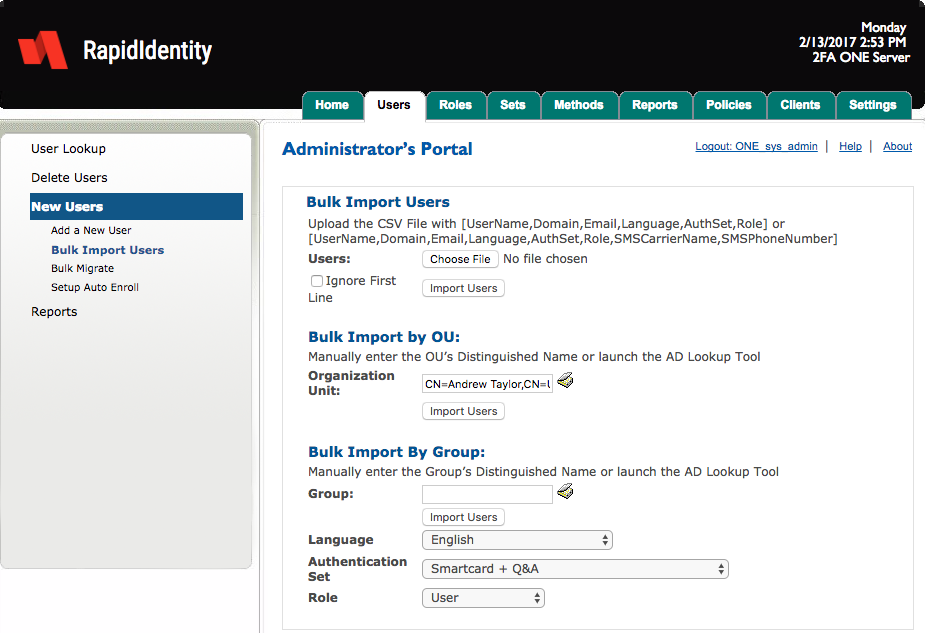
Select the desired default Authentication Set and Role in the Bulk Import by Group section or leave the default settings as configured.
Click Import Users.
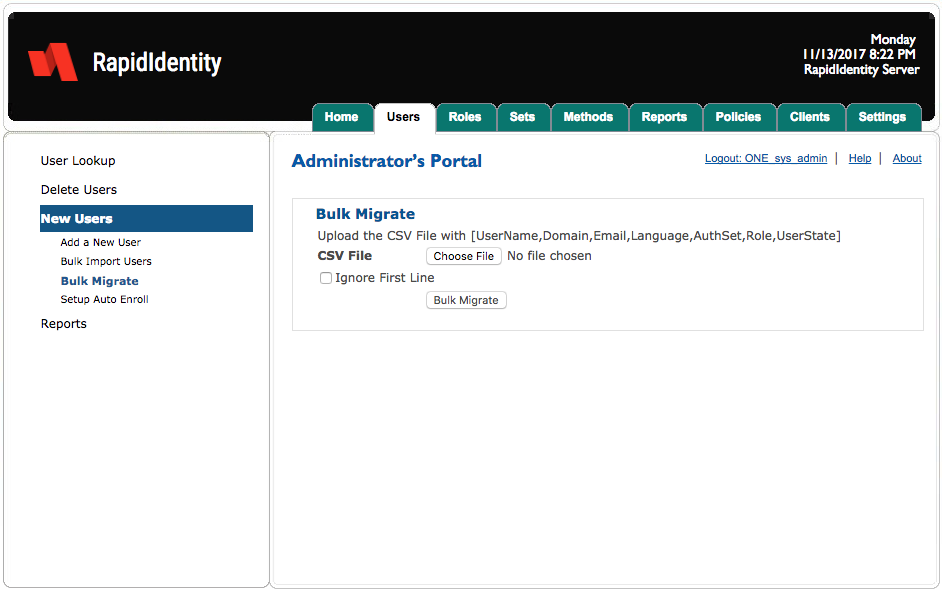
Bulk Migrate Users
Bulk Migrate Users enables administrators to migrate five user fields with a .csv file.
Note
If a user is listed on the CSV but does not already have an account, they will not be added. Ensure all accounts are set up before migrating users.
These 5 fields are the same five fields mentioned in the Import from .csv section:
Email address
Language
AuthSet
Role
User State
There are 3 steps to Bulk Migrate users using a .csv file:
Browse to locate the file.
If the .csv file contains a header, check the Ignore First Line checkbox.
Click Bulk Migrate.
Setup Auto Enroll
Auto Enroll enables administrators to configure auto enrollment for users that currently exist in Active Directory.
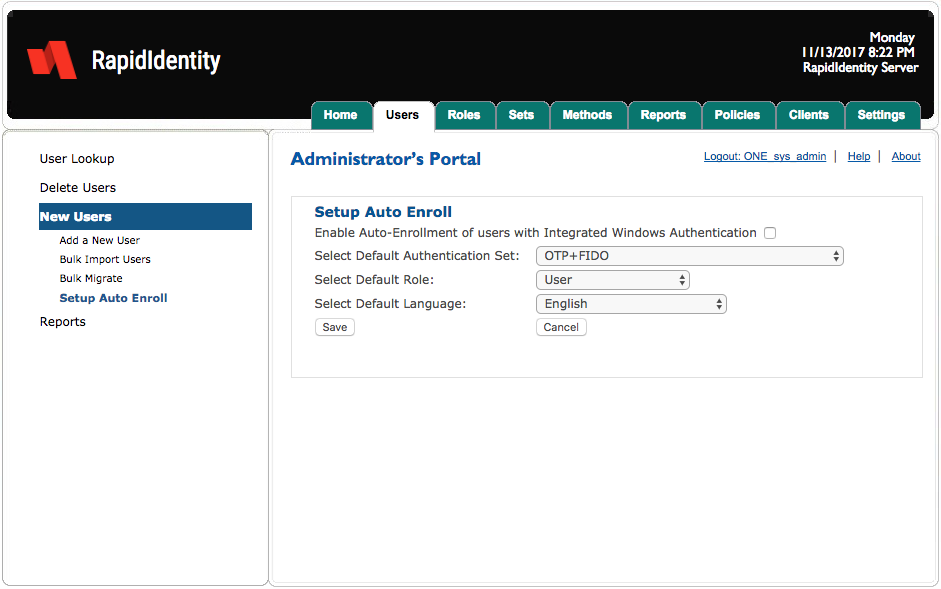
Each user attempting to access RapidIdentity Server without previous system configuration will be enrolled with the default values automatically. There is only one default set.
In the instance of duplicate entries, users whose configuration is determined through Add New User or Bulk Import take precedence over users added through Auto Enroll.
Follow these 3 steps to Setup Auto Enroll:
Check the box to enable Windows Authentication.
Select the desired default authentication set, role, and default language from corresponding drop-down menus.
Click Save or Cancel to discard.
If a small group of users is assigned different authentication sets or roles (e.g. Administrators) relative to the total user population, this smaller user group could be added using Add a New User or Bulk Import Users first. After this smaller user population is added, set the default values for Authentication Set, Role, and Default Language specific to the larger user population. Thus, this process capitalizes on the precedence of Add New User or Bulk Import relative to Auto Enroll.