Installing the RapidIdentity MFA Server
In order to continue the setup, download the RapidIdentity MFA Server files and complete the proceeding steps.
Right-click on the RapidIdentity MFA Server and select Start.
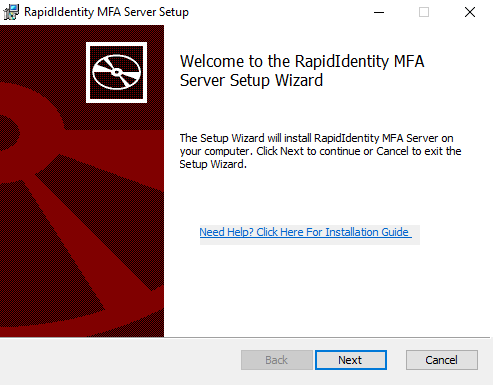
The RapidIdentity MFA Server Setup Wizard will open, click Next.
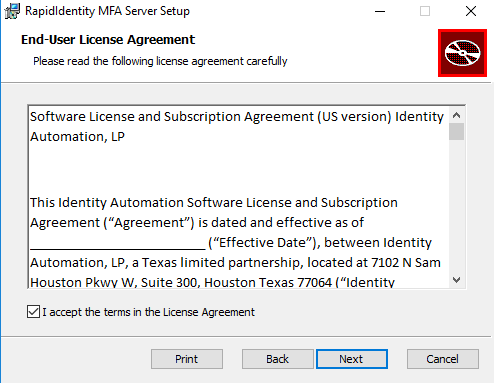
The License Agreement will appear. Read the License Agreement, accept the terms of the license agreement, and click Next.
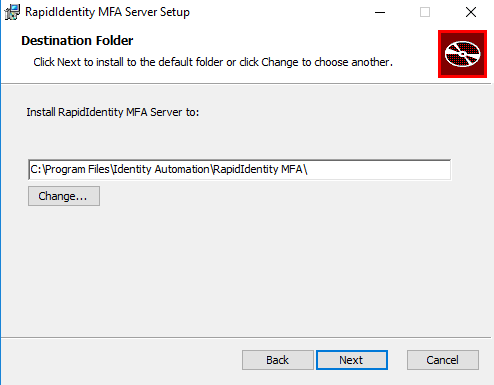
Determine the appropriate location to install the files and click Next.
Note
When downgrading from 4.9.5.1 to an older version of MFA server, remove the 4.9.5.1 installed directory (C:\Program Files\Identity Automation\RapidIdentity MFA) manually, then run the previous version's installer.
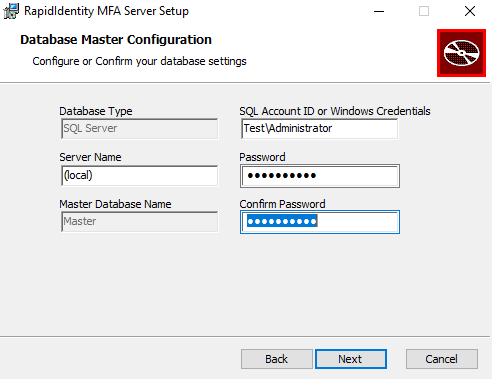
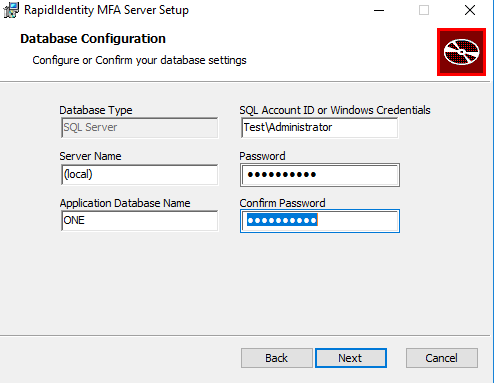
The Database Configuration window will appear. Enter the server and instance name into the proper fields. Leave the Database Name as is. Enter the SQL Account ID or Windows Credentials and the Password, along with Password Confirmation and click Next.
This will generate a new window that will confirm the new database creation; click Next.
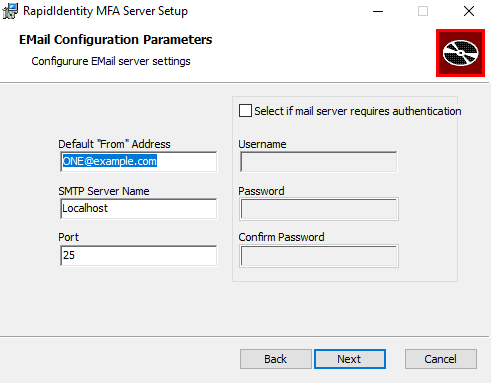
The next screen, Email Configuration Parameters, is related to email reporting. Complete if set-up is desired. If not setting this up at the time, leave it on the default information and click Next.
If a SQL Account ID was entered, the screen will now ask for Windows Credentials required for setup. Enter the Windows Credentials and the Password, along with Password Confirmation and click Next.
A window will generate to inform that the new database has been created; click Next.
The Database Configuration window will appear again to ensure the fields entered represent the account that will be used for connection in the RapidIdentity MFA Server. Click Next to confirm.
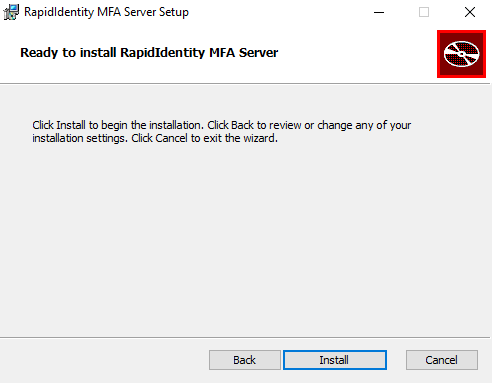
The server is now ready to install. Click Install to proceed with installation.
Wait for the installation to complete successfully.
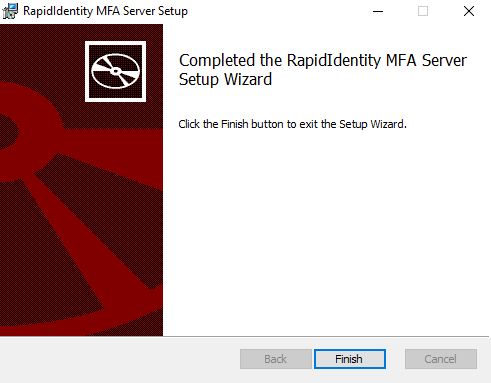
The InstallShield Wizard Complete screen will appear when installation is complete. Click Finish.
After doing a clean installation of 4.9.5.1 server and the database tables are successfully built, update the http URL with https for the following webconfig files in order to access the Admin portal:
Restservice
ServiceSite
Website
API
The RapidIdentity MFA Server is now successfully installed. Proceed to the steps to install the client-side components.