Post Installation Procedure for Microsoft SQL Server
Post Installation Procedure for Microsoft SQL Server
These steps are based on Windows 10 Server and Microsoft SQL Server 2016 with SP1. Organizations running different operating system or SQL Server versions may experience slightly different steps with correspondingly different menu options in each step. Notwithstanding operating system and server versions, the critical steps are outlined below.
Click the Start menu and type SQL Server.
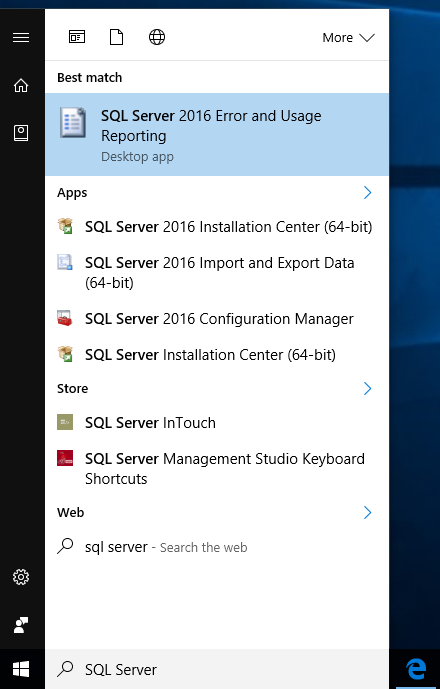
A list of search results appears on the bottom left of the screen. Click SQL Server 2016 Configuration Manager.
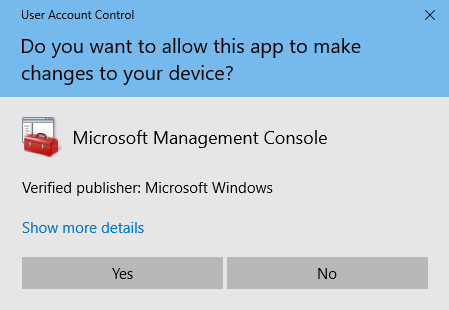
When the user account control window appears, click Yes.
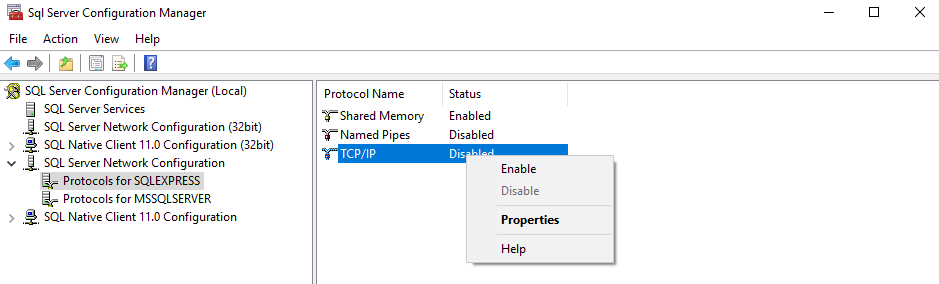
The SQL Server Configuration Manager appears next. In the left pane, expand SQL Server Network Configuration.
For each of the following three configurations, Shared Memory, Named Pipes, and TCP/IP, right-click and then click Enable.
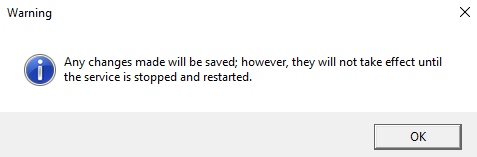
If the warning dialog appears, click OK.
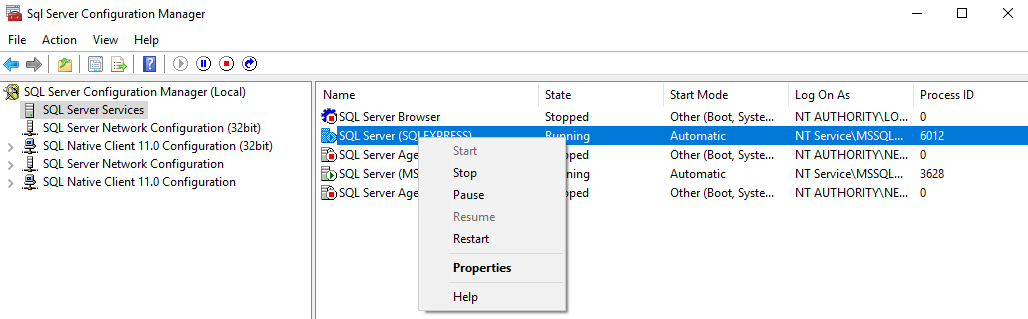
In the left pane, select SQL Server Services. In the right pane, right-click SQL Server(SQLEXPRESS), and then click Restart.
The post-installation steps for Microsoft SQL Server are now complete.